Framework for evaluating the effects of Open CV functions on images (Python)
Live preview of image processing functions.
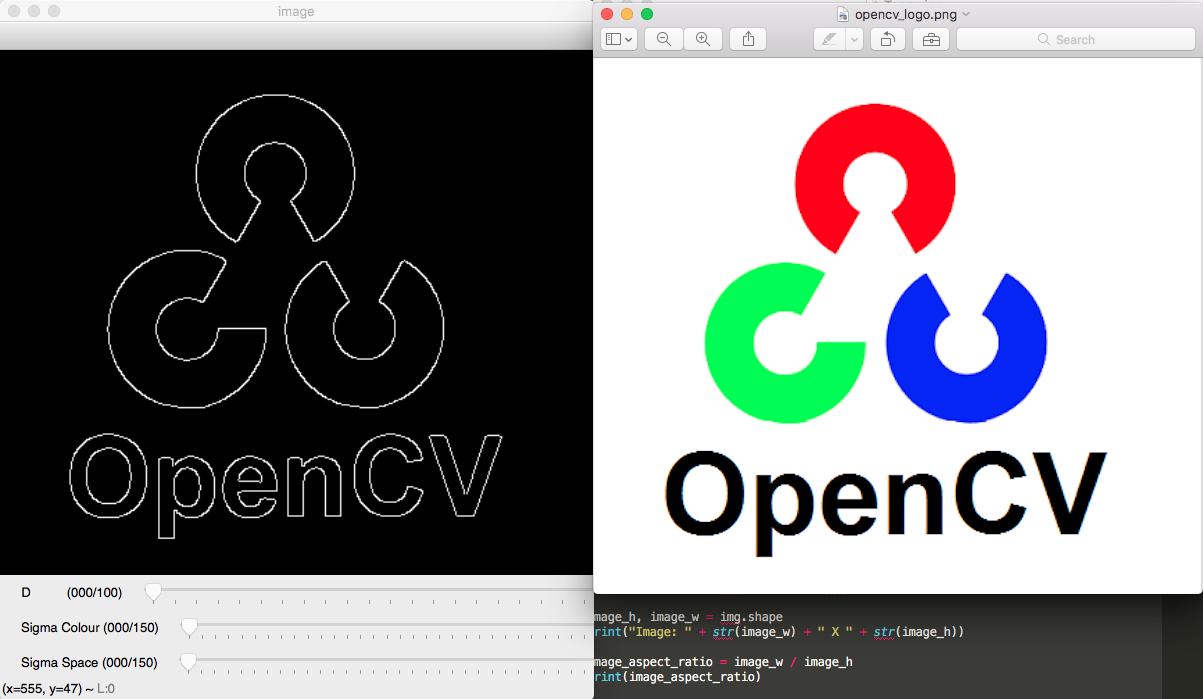
This script could be applied to many other functions in Open CV and will be a useful tool in developing other projects in the future. In this case I used a bilateral filter as it was useful for an edge detection project I am working on. The Python script (below) produces an output that looks like this, with the original image shown to the side in a Mac preview window for reference.

We can see here that when the edges are well defined, edge detection works very well.

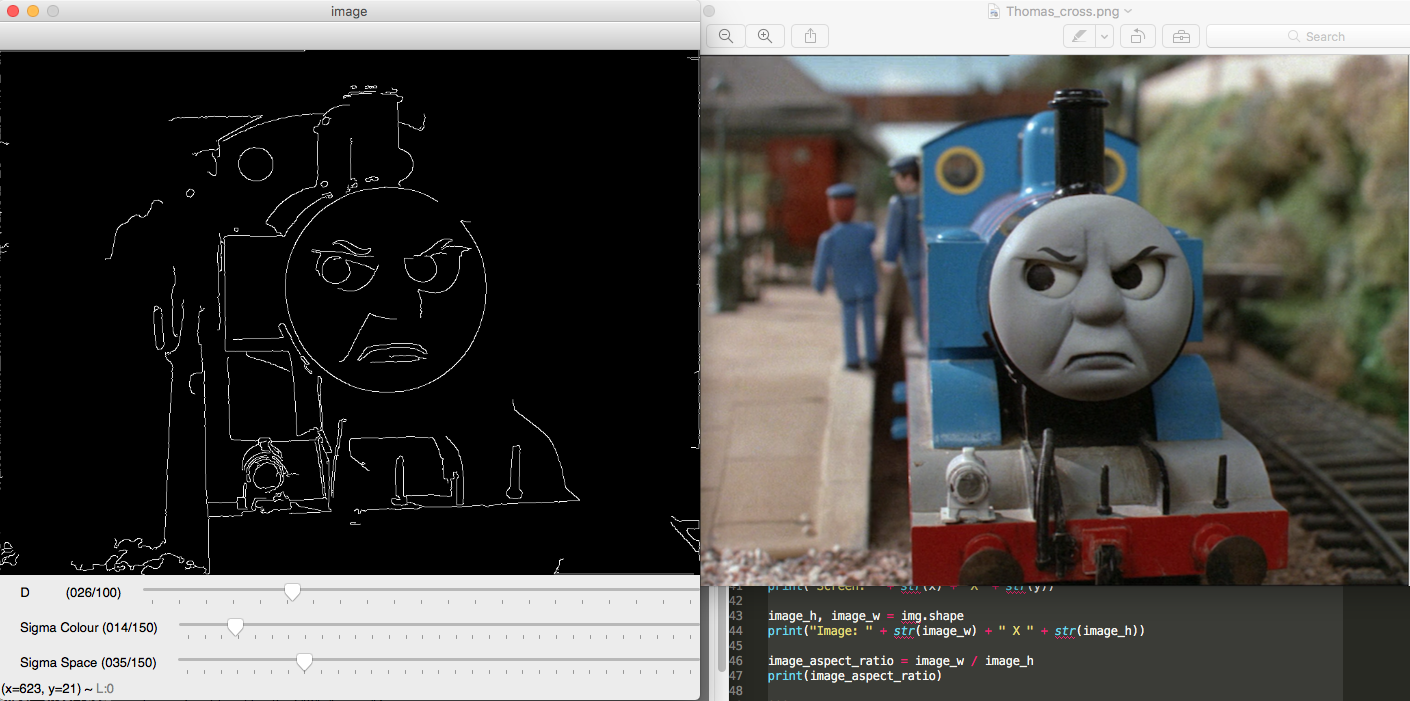
Here the edge detection works reasonably well on the areas in focus which is to be expected.

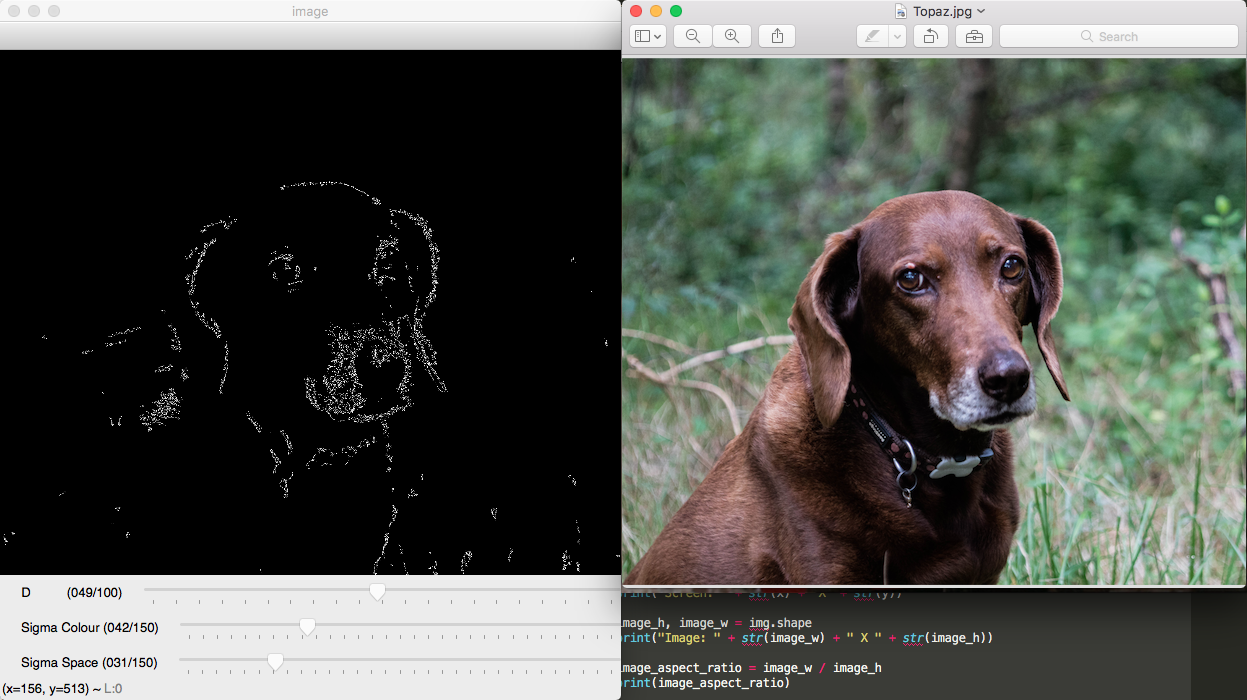
Now we can see the edge detection really start to struggle. The high noise and the complexity of the background and fur definitely requires a different approach in the preprocessing to get better results. I will refrain from bloating this example with additional preprocessing however and leave it as a relatively clean reference for future projects.
The code
import cv2
import numpy as np
import pygame
from pygame.locals import *


# Callback function
def on_change(self):
    pass
# Import image and create window
img = cv2.imread("opencv_logo.png", 0)
#img = cv2.imread("Topaz.jpg", 0)
#img = cv2.imread("Thomas_cross.png", 0)
cv2.namedWindow('image',cv2.WINDOW_AUTOSIZE)

# Use pygame to get monitor dimensions (not tested with multiple monitors)
pygame.init()
screen = pygame.display.set_mode()
x, y = screen.get_size()
pygame.quit()
print("Screen: " + str(x) +" X "+ str(y))

image_h, image_w = img.shape
print("Image: " + str(image_w) + " X " + str(image_h))

image_aspect_ratio = image_w / image_h
print(image_aspect_ratio)

'''
Set the height of the preview image to half the monitor height.
Then calculate new width preserving aspect ratio. Round values
to whole pixels and set to integer (important!).
'''

preview_height = int(round(0.5 * y))
preview_width = int(round(preview_height * image_aspect_ratio, 0))

print(str(preview_height) + "X" + str(preview_width))

# Define max and min values for each trackbar
d_start, d_end = 1, 100
sc_start, sc_end = 1, 150
ss_start, ss_end = 1, 150

#Create trackbars on image window for bilateral filter inputs
cv2.createTrackbar("D", "image", d_start, d_end, on_change)
cv2.createTrackbar("Sigma Colour", "image", sc_start, sc_end, on_change)
cv2.createTrackbar("Sigma Space", "image", ss_start, ss_end, on_change)
cv2.startWindowThread()

'''
Loop to get current trackbar values and input them into a bilateral filter.
Then shows a resized version of the image to the window.
'''

while (True):
    # Get the position value of each trackbar
    d = cv2.getTrackbarPos("D","image")
    sc = cv2.getTrackbarPos("Sigma Colour","image")
    ss = cv2.getTrackbarPos("Sigma Space","image")

    # Apply the track bar values to a bilateral filter
    processed = cv2.bilateralFilter(img,d,sc,ss)
    edges = cv2.Canny(processed,25,175, L2gradient = True)
    # Resize image for screen using paramaters generated earlier
    image_small = cv2.resize(edges, (preview_width ,preview_height))
    cv2.imshow("image", image_small)
    k = cv2.waitKey(1) & 0xFF
    if k == 27:
        break

cv2.destroyAllWindows()

