Dissertation time lapse capture code write up
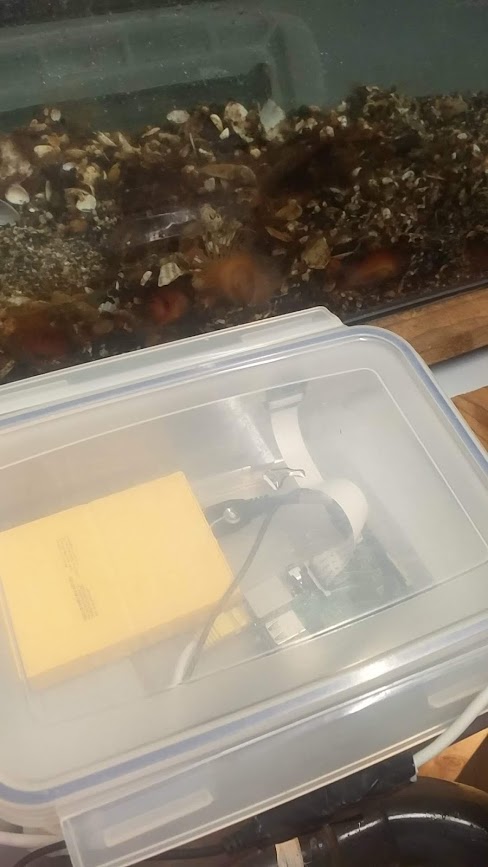
When looking into how to take long time lapses at a high resolution and frame rate I found that there really isn’t an affordable out of the box solution which falls within the scope of an hons project budget. So I put together this raspberry pi based solution. It uses a raspberry pi and the NOIR v2 camera module to capture images to a hard drive over USB. The NOIR camera module, so called because it has no infrared cut filter, can detect infrared light.

Advantages of this system include…
- Capturing to a hard disk rather than an SD card allowing much greater storage capacity.
- Can be monitored over the network while in progress without disturbing the subjects.
- Low cost and reconfigurable.
Hardware Required
| Item | Cost (£) |
|---|---|
| Raspberry Pi 3b+ | ~34 |
| 4tb Hard Drive | ~90 |
| PiNOIR Camera v2 | ~20 |
| Hard Drive Power/Data Y splitter | ~5 |
| High Current USB power adapter | ~8 |
| Total | 157 |
The above table gives an approximate cost estimate for the set up I used but, your set up and requirements may vary. It may have been possible to achieve similar results a lot cheaper by using off brand camera modules and a Raspberry Pi Zero W. Another potential cost saving is in the hard drive used. I captured images at the full 8 Mega pixel resolution, at ~4mb per image. This consumed about 2tb in 6 days at about ~2 fps. If you require less than this there is money to be saved here.
Configuring hardware
DIAGRAM OF NETWORK CONFIG
Software dependencies for Pi capture script
-
You’ll first need to install the raspbian OS on the Pi,tutorial here.
-
Then install Pi-Camera. python package
The above is enough to start capturing images but further set up is required to run a video streaming script to preview what the camera will capture. This is especially useful if you wish yo use close focus as the Pi camera lens must be adjusted manually and a live feed makes this much easier.
Then clone my git hub repository using the flowing command.
git clone https://github.com/AlexRJ-Marine/Hons_project_code.git
This contains all the code you will need to reproduce my hons project nest rebuilding observations. It is wise to save a copy to the pi’s SD card and to the USB hard drive just in case the drive becomes corrupted or files are accidentally deleted.
Capturing images
In the terminal navigate to the location on your hard drive in which you would like to capture the frames. Then create a directory on your hard drive using the mkdir command (Do not use sudo, this will create problems later)
mkdir YOUR_TIMELAPSE_DIRECTORY
cp /path/to/capture/script.py /path/to/your/timelapse/directory/script.py
and place the following python script inside.
import time
import picamera

# Generates image file names when fed into camera.capture_contiuous

file = "img{counter:08d}.jpg"

# Edit these to set resolution, max 3280 X 2464

horisontal_resolution = 3280
vertical_resolution = 2464


'''

 Time delay between captures. This does not account for
 the time taken to capture a frame so the real frame rate
 must be calculated later.

'''


with picamera.PiCamera() as camera:
    camera.resolution = (horisontal_resolution, vertical_resolution)
    time.sleep(2)
    for filename in camera.capture_continuous(file, format = "jpeg", quality = 100):
        print('Captured %s' % filename)
        time.sleep(1)
Then run it with nohup preceding it to allow you to disconnect from the pi without terminating the script.
nohup python time_lapse.py
This will now start capturing numbered images into the directory. You should be able to see images accumulating in the directory.

Monitoring
To monitor what the camera is capturing you can pull individual images from the Pi to a laptop over ssh using either rsync or scp (for linux or mac users). Rsync tends to better preserve file permissions but i will show both. Windows users can use pscp.
- scp example
scp pi@YOUR_PIS_IP:/path/to/image_file.jpg /local/directory - rsync example
rsync -avzhe ssh pi@YOUR_PIS_IP:/path/to/image_file.jpg /local/directory
Macro
If you want to use this set up for close up macro videos you will need to break the glue on the Pi camera module lens. There will be one or two small dots of clear glue, free these with a scalpel and the lens should turn freely allowing you to adjust focus.
Setting focus
To set focus I used a lightly adapted version of a python streaming program created by Miguel Grinberg (link).
Navigate to the streaming folder in the files you cloned from Github earlier. Then run app.py
cd /your/streaming/folder
python app.py
This will broadcast a video stream from the Pi over the local network. To view it simply type in your pis local ip address into a web browser followed by “:5000” e.g.
192.168.1.68:5000
But replace the ip with your pi’s ip
SCREEN SHOT
Results
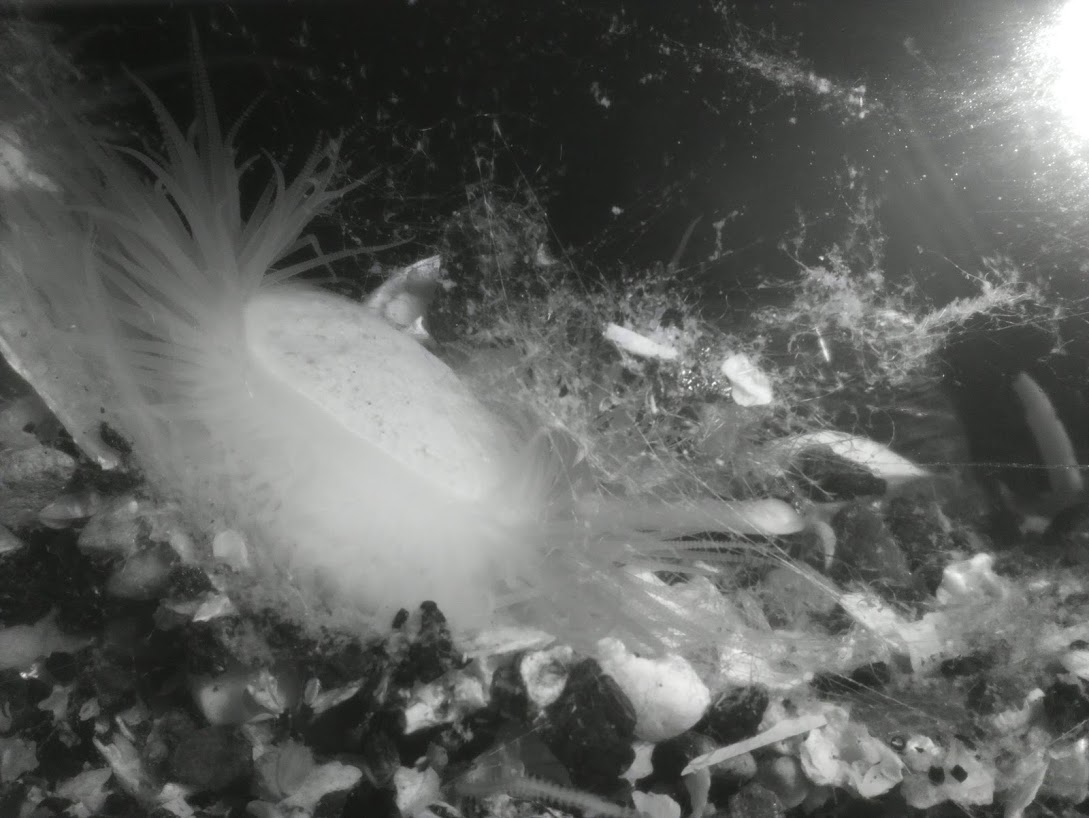
The video below is an example of the sort of data which can be generated using the above methods. It was recorded over a period of ~6 days. There is much scope for other capture scripts to acheive different goals, check out the picamera documentation for inspiration!

